Group Poster and Powerpoint Due
Collage in Photoshop and Collage in PicMonkey Due
Slow Shutter Photos Due (3)
Fast Shutter Photos Due (3)
Portrait and Self-Portrait Due (2)
Food Photos Due (3)
Landscape Photos Due (3)
Silhouette Filled Due
Poetic Prompt Due
Class Critique counts as a weekly assignment grade
Portfolio
Weekly Assignment ; Make a poster on a given topic (Exposure, Lenses, Composition, and Program Mode). Students will also make a power point presentation with 5 or more slides and teach the given concept to the class.
Try out Lightroom: Open Lightroom by Typing Lightroom with the magnifying glass icon on top right of screen.
Go to Import Photos
Go to Hardrive... Users... your name.... desktop. (You can drag a photo in.) Deselect All Photos on top left, unless you want all photos imported. Select the photos you want to go in Lightroom. It will create a folder off to the left of the photos you pick.
Notice you are in Library.
Double click on a photo. Click on Develop. On the left, try out all of the presets. Notice on the left you get a little preview of how the photo will look before you click on it.
Click the \ (backslash key) to get a before image.
Now try clicking Y
You will see the before and after picture.
Press D to get back to just the image you are developing.
You will need to Export your photo.
First have a plan where you want it to go. Create a folder in finder or in Documents and use this when choosing where your photos will go when Exporting.
Before sending me a file, you will have to Open it from your folder and click Export again. This time, save it as a low quality .jpeg before putting it in Canvas.
Submit this assignment in Canvas.
https://helpx.adobe.com/lightroom/how-to/lightroom-save-as-jpeg.html
Weekly Assignment ; Make a collage. Use Photoshop and also picmonkey or another collage site.
Do you have PicCollage or a collage program? You can also submit from other sources.
http://www.gingerpixel.com/review/storyboard-templates/
http://www.picmonkey.com/collage with pic monkey, you can make a collage to submit. Also, make a Facebook banner for extra credit!
Creating a collage in Photoshop:
Open Photoshop. (File- New. Image size suggestion 8 inches X 10 inches with 150 pixels per inch) You need to decide your background. Maybe it is a photo you turned to black and white... or maybe it is something done with the paint bucket tool (click on the color near the bottom left and choose a color). I used the gradient tool. I clicked and held the paint bucket tool and selected the gradient tool and a color I liked. I made an angular line across the canvas. I then went to File... then Open and selected a photo. It opens the photo in a new panel. You can make adjustments to the photo and then use the M (Marquee Tool) to highlight the image... command C (copy). On the top bar go back to your background by clicking on it. Add a layer by clicking on the icon under the layers on the right that looks like a piece of paper with a crease on the corner. Click Command V for paste. Move the image around and image size by using the Free Transform. (Edit... Free Transform). Click on the check mark when you have placed it where you want it. On my collage I added another photo doing the same thing. I then added another photo for the background. I changed the Opacity on it by looking at the layers panel and above it slightly to the right and changed the opacity to about 50. I then moved layers around by Highlighting them and dragging them so I had the order that looked best. You can hide a layer by clicking on the eye icon... and clicking it again to view. If you would like text... I have the instruction on the "mini" assignment with the picture of the rock that says "Shape." You can angle a photo by click and holding the hand icon tool rotate or just press R. This is a great way to learn about Layers in Photoshop and how they work. You have to remember to edit when click on the correct layer! Choose colors that go together well. Review mini lessons where you added a photo filter or changed something into black and white in order for things to look good together.


This collage was done easily with PicMonkey. If the schools computer won't load your photos because of adobe flash player... see if you can do this assignment at the library or at home. It is fun and easy and I think you will enjoy this web site. Search around the web site and try editing a photo or other fun things.


Setting up and shooting in shutter priority mode (S).
1. Turn your camera on, and turn the Mode dial to align the S with the indicator line.
2. Select your ISO by pressing the i button on the lower-left portion of the back of the camera.
3. Press up or down on the Multi-selector to high light the ISO option, and then press OK.
4. Press down on the Multi-selector to select the desired ISO setting, then press OK to lock in the change.
5. Point the camera at your subject, and then activate the camera meter by depressing the sutter button halfway.
6. View the exposure information in the bottom area of the viewfinder or by looking at the rear LCD panel.
7. While the meter is activated, use your thumb to roll the Command dial left and right to see the changed exposure values. (right fast, left slow)
Exposure needs to be bright and clean for food photos. Dark and yellowish photos are unappetizing. Manipulate exposure and curves in Photoshop or Lightroom. Also, in Photoshop, try Filter.... Camera Raw.... and up the clarity slider. It tends to make things look toasted and delicious.
Poetic Prompts:
Impermanence, imperfection, simplicity, harmony, purity, tranquility, contentment. Submit one photo for each prompt.
Impermanence, imperfection, simplicity, harmony, purity, tranquility, contentment. Submit one photo for each prompt.
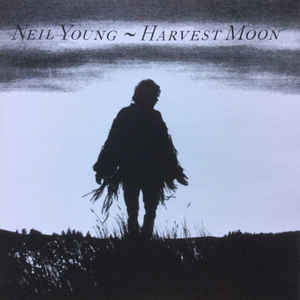
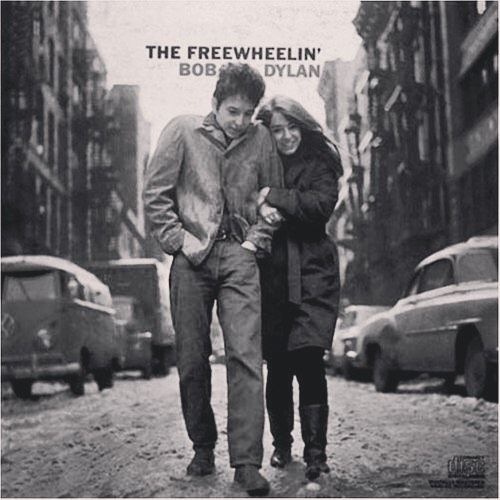
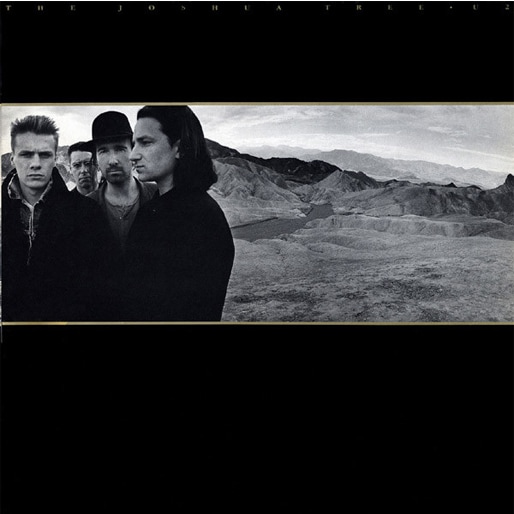
or recreate 3 album covers
|
|


CREATE A SLIDE SHOW IN LIGHTROOM. Use your best photos to make a Slideshow Portfolio. 5-10 photos.
Jump over to Slideshow Module or shortcut command-option-5. There is a collections panel in the left side Panels area so you have direct access to the photos in any collection. You may need to import photos. Click on the photos you want in your slideshow. It will be easier if you go to Library module and press the letter G and make a new collection with the photos you want in your slide show and click back to Slideshow and click on that collection in the Collections Panel.
- By default it is going to play the slides in the order they appear in the Filmstrip. If you want to change the order of your slides, just click and drag them into the order you want them.
-When you first switch to the Slideshow module, it displays your photos in the default slide show template. Click on any photo in the Filmstrip to see how that slide will look in the current slide show layout. Try a different looking use any of the built in slide show templates that come with Lightroom- they are in the Template browser in the left side Panels area. You can get a preview of how they will look by hovering your cursor over the names in the Template Browser.
-To see a quick preview of how your slide show ill look, go to the toolbar below the center Preview area, and click the Preview button. It is a right facing triangle, just like the Play button.
-If you want to remove a photo from your slide show, click on it in the Filmstrip and press the Delete key.
-Full screen version: click the Play button at the bottom of the right side Panels area. Exit press Esc key on your keyboard.
